How to Learn Arabic Calligraphy: A Step-by-Step Guide for Beginners

Most people who try Arabic calligraphy give up in the first month — not from lack of talent, but because they start in the wrong place. They buy the wrong pen, skip the proportions and try to write a full verse on day one. Here is the order that actually works.
Step 1: Buy three things, not thirty
You need a qalam (a reed or bamboo pen cut to a flat, chisel edge), a bottle of good black ink and smooth, lightly coated paper that stops the ink bleeding. The pointed flexible nibs sold for English calligraphy are the wrong tool. Arabic depends on a flat edge held at a consistent angle - that angle is what creates the thick and thin strokes automatically.
Step 2: Learn the dot before you learn a single letter
This is the step beginners skip, and it separates neat handwriting from real calligraphy.
Press the pen once to the paper and it leaves a small diamond — the nuqta, or rhombic dot. In the classical proportional system, traditionally credited to the tenth-century master Ibn Muqla, every letter is measured in these dots: the height of an alif, the depth of a bowl, the space between letters. Learn the unit and the letters become measurable rather than guessed.
Step 3: Start with Naskh
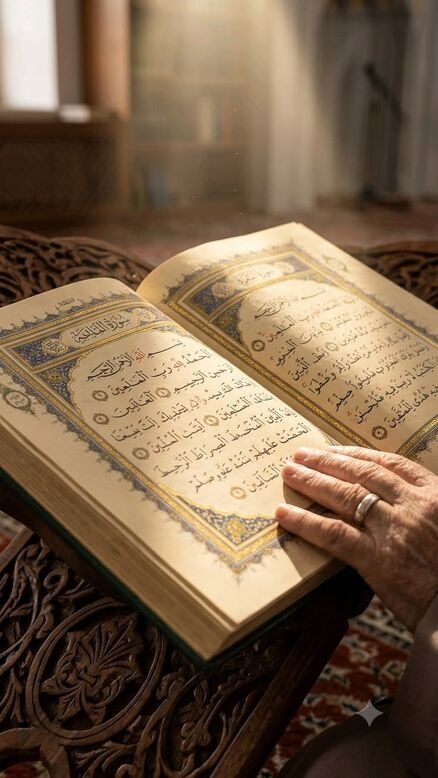
Naskh is the right first script. It is legible, its proportions are moderate, and it is the script most printed Qurans use — so your reference material is everywhere.
Leave Thuluth until later. It is the more monumental, decorative script and traditionally the real test of a calligrapher: beautiful, and unforgiving of a shaky hand.
Step 4: Drill single letters until they are boring
Classical training separates mufradat (individual letters) from murakkabat (joined forms), and there is a reason for that order.
Fill an entire page with one letter. Then the same letter again tomorrow. It feels excessive; it is how muscle memory is built. Joining letters before the individual shapes are stable just embeds the error twice.
Step 5: Copy a master rather than inventing
Traditional practice is working directly from an exemplar sheet written by a skilled hand. Tracing is entirely legitimate at this stage. Originality comes after control, not before it.
Step 6: Get your work corrected
This is where self-teaching stalls. You cannot see your own errors — the eye that made the mistake is the eye judging it. A trained teacher spots an inconsistent pen angle in seconds.
The tradition reflects this: calligraphers studied under a master and received an ijazah, a licence to teach, only once their hand was sound.
How long does it take?
Expect a few weeks to write clean individual letters, and several months of steady practice before finished pieces look like the work in your head. Twenty focused minutes a day beats three hours on a Sunday.
Athan Academy’s Arabic Calligraphy School is built for complete beginners and follows exactly this progression — tools and pen maintenance, fundamental strokes, Naskh and Thuluth, then turning finished pieces into work for print, branding and digital media.